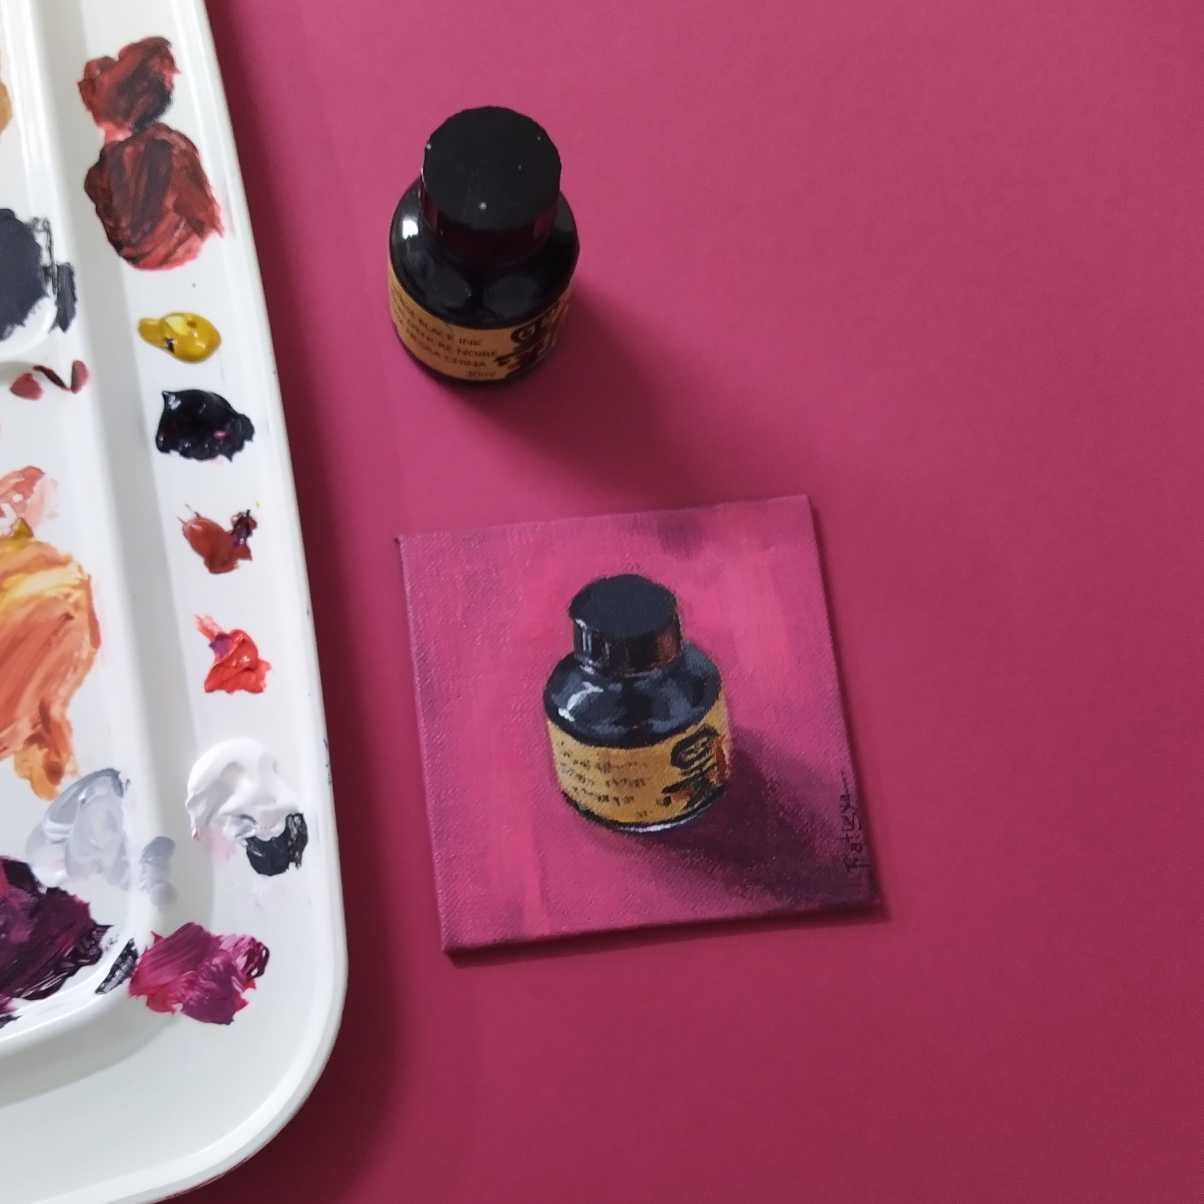
Create with Art Lounge - Ink Bottle Edition

Painting from life is far different from painting using photo as reference. You must rely on your observation and can’t have camera doing most of the work for you.

Any seasoned Artist will tell you that to sharpen your skills as an Artist, you should practice painting from life. It can be still life, portrait, figure painting or plein air painting.

Let’s start small today by painting an ink bottle in Acrylic on Canvas. We’re using Pebeo Studio Acrylic on 4x4 inch Canvas with Art Essentials and Winsor and Newton Brushes.

We’re using a limited palette of

Step 1

We will mark the proportions of our Subject. This is fairly easy for an Ink bottle. Here, instead of using a pencil, we’ve watered down a combination of Burnt Sienna and Yellow Chrome. If you’re comfortable with pencil, you can use them instead.

Next we will use 3 shades to paint the darkest parts of our subject. This should give you a fair idea of what we’re aiming for

Step 2

(A) Start with dark grey- It should look almost black but a hint of white.

(B) Adding light grey (just add white to the previous grey) on the areas facing light.

(C) And Black as the darkest dark. The moment you add Black, the form i.e the roundness of the surface should be conveyed in the painting.

Step 3

Covering the belly of the bottle with Yellow ochre mixed with a hint of Burnt Sienna (Sienna will add some red to the mix that will help add some life to the otherwise very flat colour)

Same as before, we will have dark and light areas. Adding white to the darker colour should do the trick here as well.

At this stage, although your painting is not entirely done, it should be making some sense of where the darks are and where the light is coming from.

Step 4

Adding details to the packaging bits of the Bottle. These need not be very accurate and lettered down word to word, instead it can just be loose strokes that suggest what the original subject looks like. We should always leave some gaps that the viewers imagination can fill instead of making your paintings very realistic.

It is sections like this that give personality to your paintings.

Step 5

Background- We chose to use the actual background we had during the painting session, but you can always play around with different colours and textures. Anything goes as long as it doesn’t take attention away from our subject. The goal of having the background is to add to the painting and not take away from it.

We went slightly darker at first.

So that the lighter strokes that will sit above have some contrast.

Step 6

At this stage, your painting is all done but something is still missing- The crisp, bright highlight.

We take pure Titanium White and lay it exactly on the brightest spots of our subject. In our case it was where our studio lights hit the glass bottle.

And the stroke that will distinguish a good painting from a great one- The thin white line at the bottom of the bottle. It conveys that light has passed through the part of glass bottle where there is no Ink.

Step 7

Display your painting in the best corner of your room/office and pat your back.

You did an amazing job!

Hope you had fun seeing us create this painting and found the direction simple enough to follow and creating one yourself. Shop for the supplies we’ve used here.

If you decide to follow along, don’t forget to tag us on Instagram @artloungein

We’d love to see what you create!